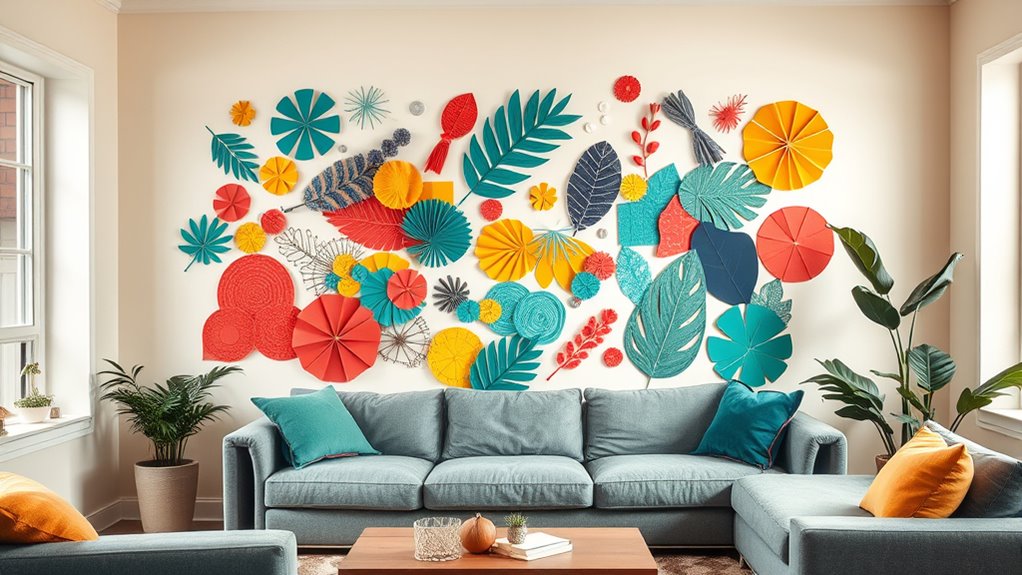

To add a personal touch to your space, try creating DIY wall art using materials like textured canvases, recycled items, or natural elements. You can craft abstract paintings, collages, geometric hangings, or quote prints that reflect your style. Incorporate colorful patterns with washi tape, repurpose old objects, or use meaningful photos for a heartfelt display. Arranging and framing these pieces thoughtfully will make your decor uniquely yours—exploring these ideas further will inspire your personal touch.
Key Takeaways
- Incorporate meaningful quotes or personal photos to add emotional and individual significance to your wall art.
- Use DIY techniques like painting, collage, or recycled materials to create unique, personalized pieces that reflect your style.
- Match frames and color schemes with your room decor for a cohesive and harmonious look.
- Arrange artwork at varying heights and spacing to showcase personal creativity and achieve visual interest.
- Incorporate natural elements or textures, like dried flowers or woven fibers, to bring a calming, personal touch to your space.
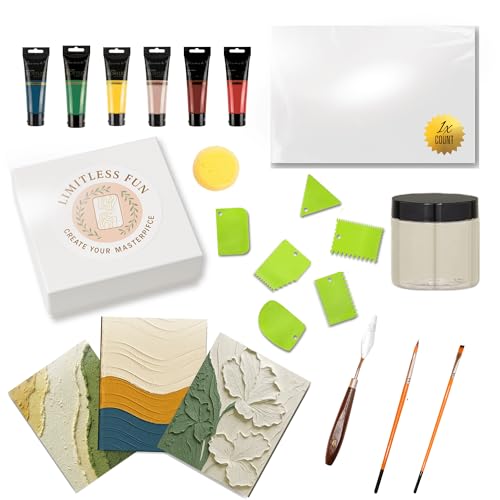
Textured Canvas Art Painting Kit – 3D Canvas Kit – Create Modern Wall Art at Home – Complete DIY Canvas Art – 6 Acrylic Paint Colors + Brushes & Tools
🎨 DIY Home Décor Made Easy – Create stunning textured canvas wall art with this complete kit.
As an affiliate, we earn on qualifying purchases.
As an affiliate, we earn on qualifying purchases.
Choosing the Right Materials for Your Artwork
Selecting the right materials is essential to creating wall art that looks great and lasts. Start by considering different canvas textures, such as smooth, linen, or textured surfaces, to match your artistic style. The texture influences how your paint or print appears, so choose one that complements your design. Equally important are adhesive types; for example, spray adhesives work well for lightweight prints, while heavy-duty glue might be needed for thicker, textured canvases or mixed media pieces. Make sure the adhesive is compatible with your chosen canvas and materials to ensure durability. Using the right combination of canvas textures and adhesive types guarantees your artwork stays secure and maintains its visual appeal over time. Additionally, understanding how different self watering plant pots work can inspire creative repurposing of containers for unique wall art projects.

Earth Day Bulletin Board Classroom Decorations Garbage Can Paper Cutouts Recycle Posters Set for Environmental Protection Teacher Supplies Students Classroom School Nursery Chalkboard Wall Door Decor
Package includes: This earth day bulletin board set includes 12 "RECYCLING ART" letter cutouts, 7 word cutouts like…
As an affiliate, we earn on qualifying purchases.
As an affiliate, we earn on qualifying purchases.
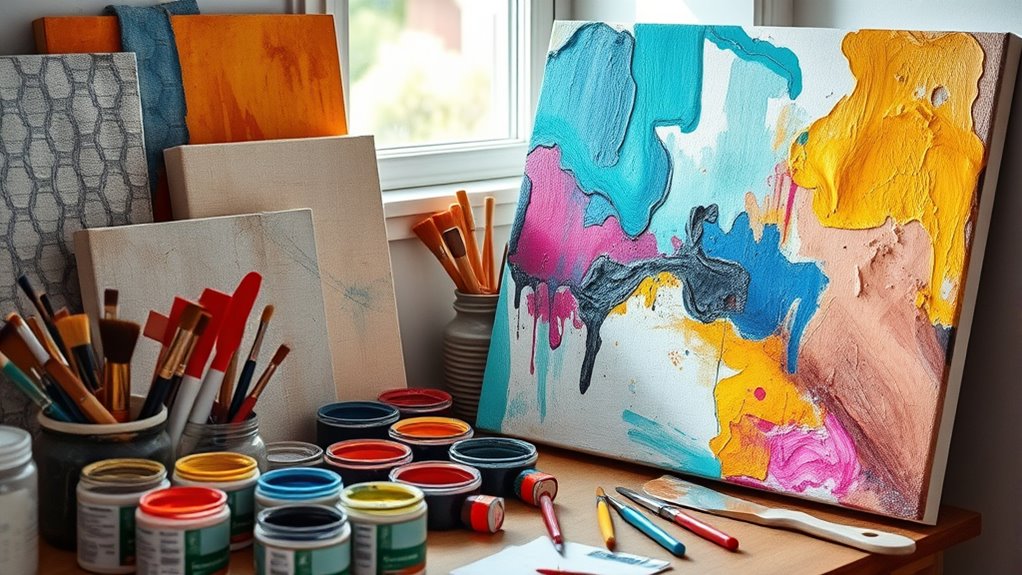
Creating Abstract Canvas Paintings
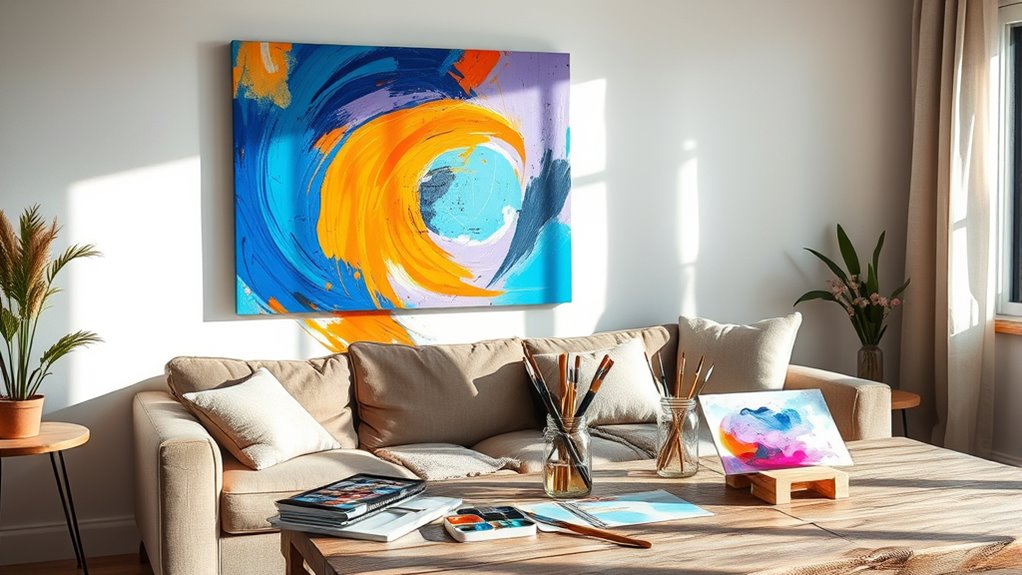
Creating abstract canvas paintings allows you to explore bold colors, dynamic shapes, and expressive textures that convey emotion and energy. To achieve this, focus on color blending techniques that smoothly progress between hues or create striking contrasts. Experiment with layering different shades to add depth and visual interest. Use texture techniques like palette knife application, impasto, or adding mixed media elements to give your artwork a tactile dimension. Don’t be afraid to let your intuition guide your brushstrokes; spontaneity often results in compelling compositions. Keep your tools varied—sponges, brushes, or even your fingers—to create diverse textures. Remember, abstract art thrives on experimentation—embrace imperfections and unexpected outcomes to craft a unique, personal piece. Incorporating texture techniques can enhance the sensory experience of your artwork and add a tactile quality that invites viewers to connect more deeply.
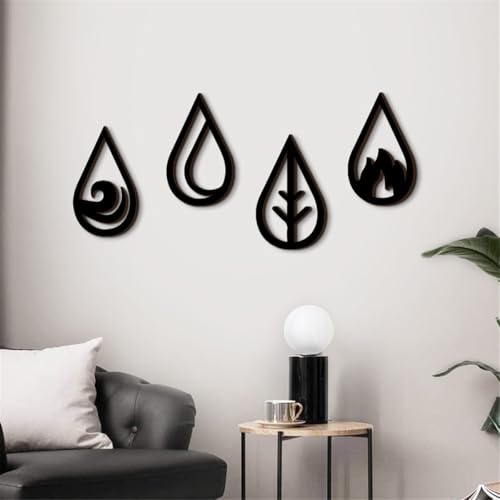
Four Elements Minimalist Wood Wall Art, 4 Pcs Nature Elements Symbol Wall Art, Wind, Water, Earth, Fire Vector Sign, Wooden Geometric Wall Decor for Living Room Bedroom Office, 11.8" x 7.09"
Package Included: Includes four large wooden wall art panels each representing one of the natural elements – Wind,…
As an affiliate, we earn on qualifying purchases.
As an affiliate, we earn on qualifying purchases.
Making Personalized Photo Collages
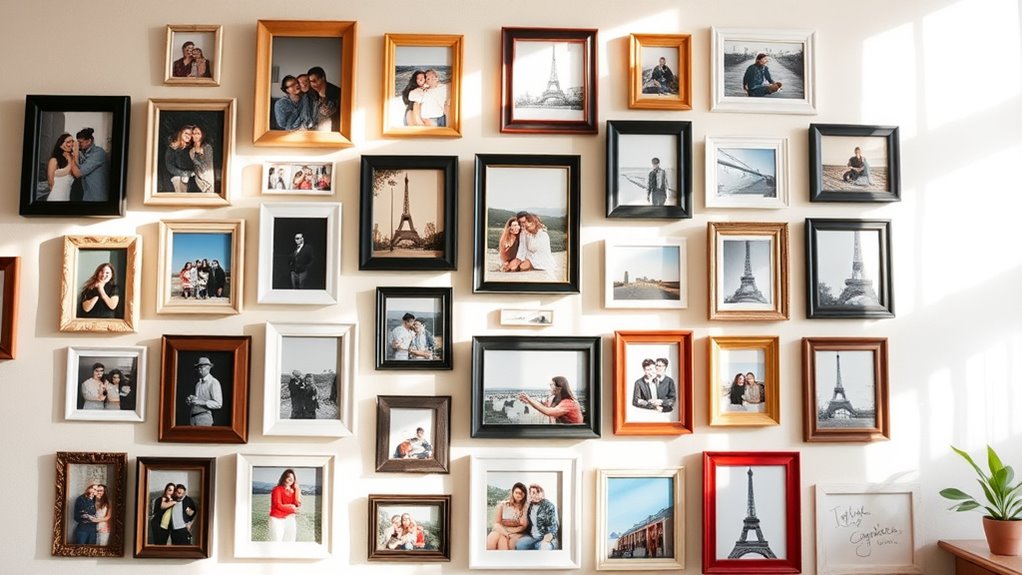
Choosing the right photos is key to creating a striking collage that tells your story. Think about selecting images that complement each other and evoke emotion. Once you have your photos, arranging them thoughtfully will make your collage truly impactful. Incorporating scenic views can enhance the visual appeal and add a unique touch to your personalized artwork.
Selecting Photos Effectively
| Joyful Moments | Heartfelt Memories |
|---|---|
| Family laughter | Celebrations shared |
| Travel adventures | Quiet contemplations |
| Special achievements | Loved ones’ smiles |
| Candid captures | Sentimental details |
| Incorporating personal photos can enhance the emotional impact of your collage.
Arranging for Impact
Have you ever wondered how to arrange your photos so they make a real statement? Start by considering your color schemes; grouping photos with complementary or matching tones creates harmony. Use lighting techniques to enhance your collage—natural light can bring out vibrant colors, while soft, diffused lighting adds warmth and intimacy. Play with different layouts: a grid offers a clean, organized look, while a more spontaneous arrangement gives a casual vibe. Varying photo sizes can add visual interest, but make sure the overall balance feels cohesive. Pay attention to focal points—highlight your favorite shots by placing them centrally or using framing elements. Thoughtful arrangement guarantees your collage commands attention and genuinely reflects your personality. Embracing creative freedom allows you to craft a personalized masterpiece that truly showcases your unique style.

Jkolalin Personalized Collage Picture Frames with Photos, Custom Photo Frame with Night Light, Customized Picture Frame, Personalized Birthday Gifts for Women Men Mom Dad Kids Baby Family Friends
CUSTOMIZED FOR YOU: Click the "Customize Now" button, upload the photos you want and you'll have a personalized…
As an affiliate, we earn on qualifying purchases.
As an affiliate, we earn on qualifying purchases.
Crafting Geometric Wall Hangings
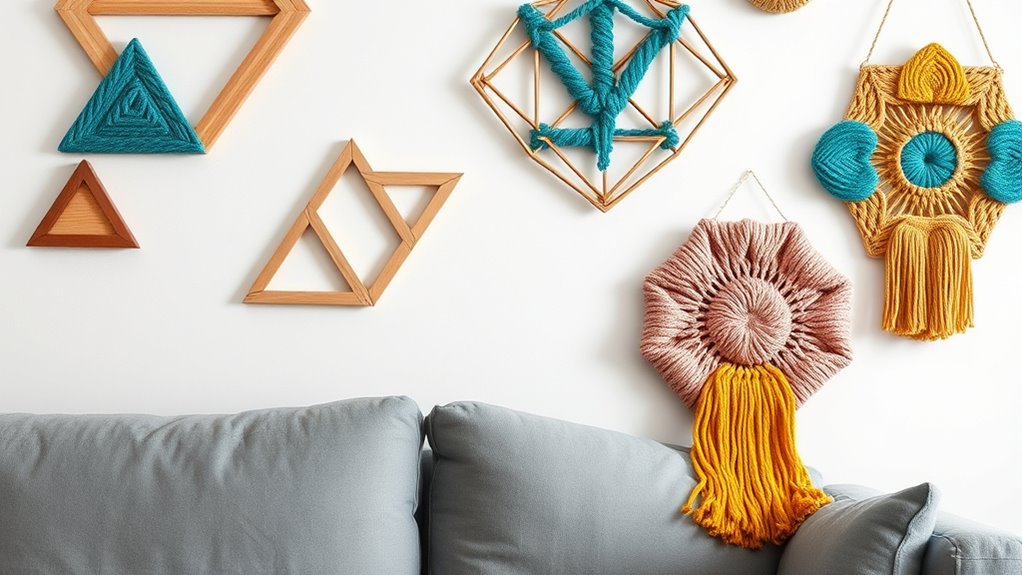
Creating geometric wall hangings is a fun and versatile way to add modern flair to your space. Start with framing techniques that emphasize clean lines and precise shapes, making your artwork stand out. Use sturdy materials like wood or metal to achieve sharp angles and symmetry. Color theory plays a fundamental role; choose a palette that complements your existing decor or makes a bold statement. Bright, contrasting colors can energize a room, while muted tones create a calming effect. Experiment with layering different geometric shapes for depth and visual interest. Remember, simplicity is key—focus on clean designs and balanced compositions. Incorporating float mounting textile art techniques can give your pieces a sleek, professional appearance. With a little patience, you’ll craft stunning wall hangings that reflect your personal style and elevate your interior decor effortlessly.
Designing Inspirational Quote Prints
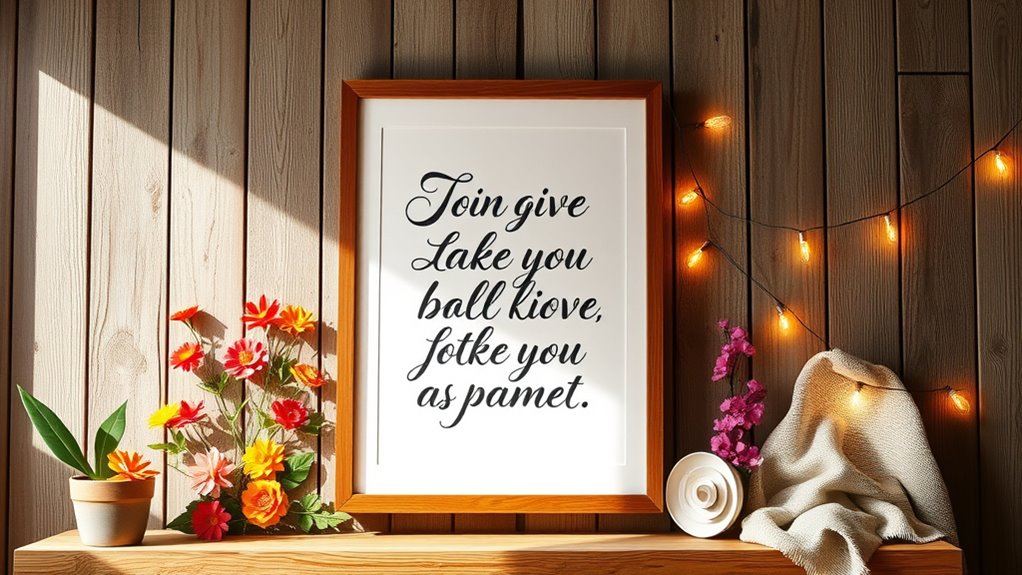
Creating inspiring quote prints starts with selecting words that truly resonate with you. Then, choose a style and fonts that match your decor and mood. Finally, consider printing and framing options to make your artwork stand out. Incorporating visual harmony can help ensure your prints complement your space and evoke the desired atmosphere.
Selecting Powerful Quotes
Choosing the right quote can transform a simple wall into a source of daily inspiration. When selecting motivational phrases, look for memorable sayings that truly resonate with you. Think about messages that uplift, motivate, or reflect your personal values. Consider the tone you want to set—whether it’s empowering, calming, or energizing. Keep your audience in mind; a quote that inspires you might not have the same impact on others, so choose something meaningful to you. Avoid clichés or overused sayings, aiming instead for originality. The goal is to find a quote that sparks positivity every time you see it. Once you’ve identified a powerful quote, you’re ready to create a piece that adds both style and substance to your space. Asset division strategies can also be used to efficiently organize and allocate your resources for a successful project.
Choosing Style & Fonts
So, how you style and choose fonts for your inspirational quote prints can make a big difference in how they’re perceived. Selecting the right calligraphy styles or font pairing enhances your message’s impact and aesthetic. Think about combining elegant script fonts with bold sans-serif to create contrast and interest. Consider legibility and mood—soft calligraphy styles evoke serenity, while modern fonts convey energy. Play with size, weight, and spacing to emphasize key words. Incorporating visual hierarchy helps guide the viewer’s eye and strengthens your message’s clarity.
Printing & Framing Tips
When printing your inspirational quotes, selecting the right paper and printer settings can substantially enhance their appearance. Opt for high-quality, matte or semi-gloss paper to improve print quality and reduce glare. Adjust your printer settings to the highest resolution for crisp, clear text. Framing styles can transform your print—consider sleek modern frames or vintage ornate designs to match your decor. To visualize, here’s an example of popular framing options:
| Frame Style | Material | Suitable Decor |
|---|---|---|
| Minimalist | Metal or thin wood | Modern, sleek |
| Vintage | Carved wood | Rustic, classic |
| Gallery | Wide, clean lines | Contemporary |
Choose your framing style based on your space to make your inspirational quote truly pop.
Using Washi Tape for Colorful Patterns

Have you ever considered how washi tape can transform a plain wall into a vibrant work of art? With washi tape patterns and colorful tape designs, you can easily create eye-catching decor without mess or tools. Simply choose your favorite colors and shapes, then stick them onto the wall in a pattern or freeform design. The beauty of washi tape is its versatility—you can make geometric shapes, stripes, or abstract art with ease. Plus, it’s removable, so you can change your design whenever you want. To add depth, think about layering different patterns or combining contrasting colors. Experiment with diagonal lines, chevrons, or polka dots. Using washi tape for colorful patterns lets you craft personalized wall art that’s quick, fun, and endlessly customizable. Incorporating DIY wall art ideas can further elevate your space with minimal effort.
Repurposing Old Items Into Artistic Decor
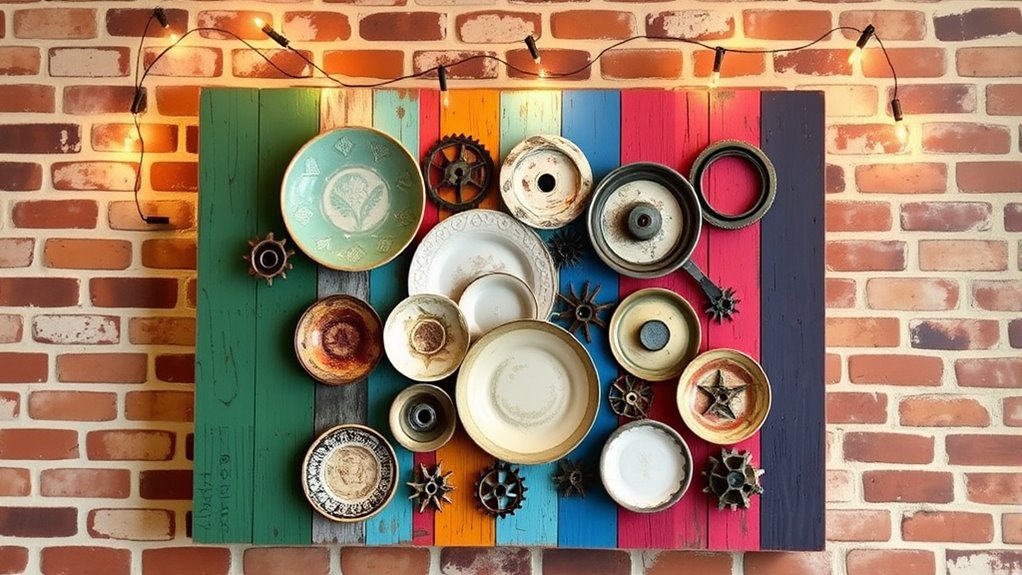
After creating vibrant wall art with washi tape, you can extend your creativity by giving new life to old items around your home. Vintage furniture makes a perfect canvas—sand down a worn surface, add a fresh coat of paint, and decorate with stencils or decoupage to turn it into a statement piece. Recycled materials like glass jars, tin cans, or wooden pallets can also become unique wall art. For example, transform a broken mirror into a mosaic or arrange painted cans into a colorful wall display. These repurposed items add personality and sustainability to your space. By incorporating vintage furniture and recycled materials, you not only craft personalized decor but also reduce waste, making your home both stylish and eco-friendly.
Incorporating Natural Elements Into Wall Art
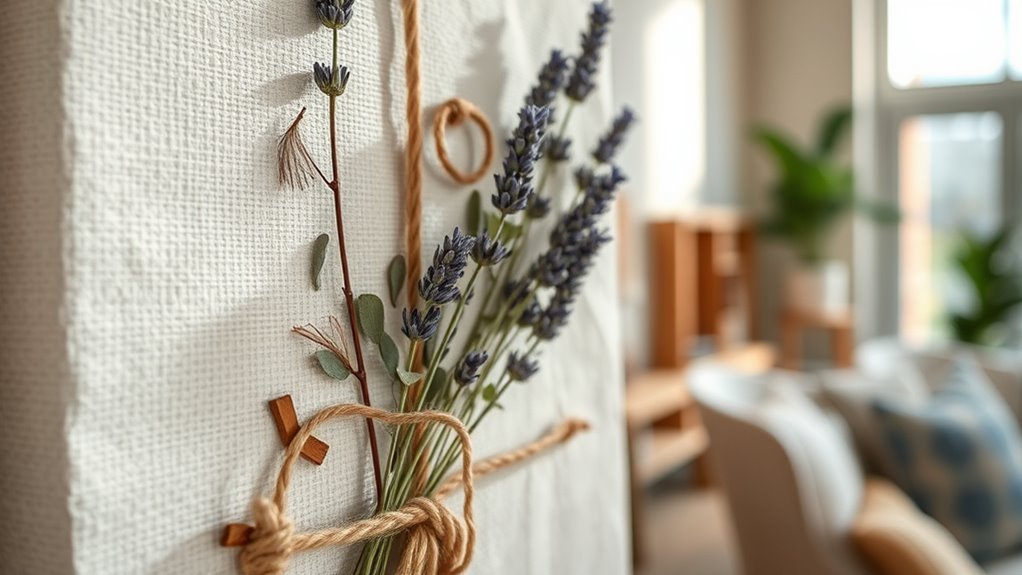
Incorporating natural elements into wall art brings a fresh, organic touch to your space that’s both soothing and stylish. You can add depth and visual interest by using natural textures like woven fibers or reclaimed wood. Botanical motifs, such as pressed flowers or leaf prints, introduce a lively, nature-inspired vibe. Consider creating a gallery wall with framed botanical illustrations or hanging a macramé piece for tactile appeal. Incorporate natural elements by using earthy color palettes, textured materials, or even incorporating real elements like small branches or dried flowers. These touches make your wall art uniquely yours and foster a calming atmosphere. Experiment with different textures and motifs to find what resonates with your personal style and helps bring the outdoors inside.
Framing and Arranging Your DIY Pieces
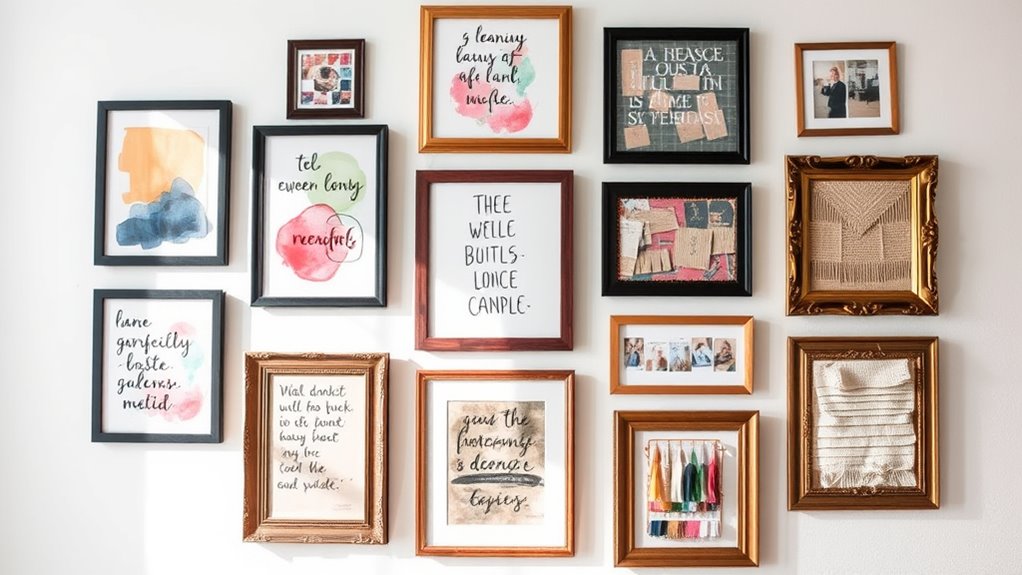
Once you’ve gathered your natural elements and crafted your wall art, the next step is to thoughtfully frame and arrange your pieces. Start by considering your overall color schemes to guarantee your artwork complements your room’s palette. Choose frames that enhance the natural aesthetic without overpowering the design. When it comes to wall placement, experiment with different arrangements before committing. Use painter’s tape to visualize layouts, balancing your pieces across the wall for visual harmony. Vary the heights and spacing to create interest, but keep in mind the flow of your space. Proper framing and strategic arrangement will highlight your DIY art, making it a cohesive, eye-catching feature that reflects your personal style.
Frequently Asked Questions
How Can I Ensure My DIY Wall Art Lasts Over Time?
To make sure your DIY wall art lasts, you should focus on proper sealant application to protect it from moisture and damage. Additionally, framing your artwork helps preserve its condition and prevents warping or bending over time. Keep it in a stable environment, avoid direct sunlight, and periodically check the sealant and frame. These steps guarantee your creation stays vibrant and intact for years to come.
What Are Some Budget-Friendly Alternatives for Expensive Art Supplies?
Imagine you’re a treasure hunter seeking hidden gems; that’s how you can view budget-friendly art supplies. Thrift store finds often hold overlooked potential, and DIY paint hacks let you stretch your budget further. Instead of pricey materials, repurpose old frames or canvas, and experiment with inexpensive paints. This approach not only saves money but also transforms everyday items into personal masterpieces, proving that creativity thrives without a costly price tag.
How Do I Choose the Right Size and Placement for My Artwork?
When choosing the right size and placement for your artwork, consider your space’s proportions and wall dimensions. You want your art to complement the room, so think about frame selection that enhances its size. Also, guarantee color coordination with your decor to create harmony. Hang larger pieces at eye level for impact, and balance smaller ones around focal points. This approach helps your art stand out beautifully without overwhelming the room.
Can I Incorporate My Existing Home Decor Into My Wall Art?
Imagine your living room features matching color schemes and sleek furniture. You can incorporate your existing decor by creating DIY wall art that complements these elements, like painting a canvas with hues that match your cushions or curtains. This approach ties everything together seamlessly, enhancing your space’s cohesion. By blending your decor with personalized art, you craft a harmonious environment that reflects your style effortlessly.
What Tools Are Essential for a Beginner DIY Wall Art Project?
For a beginner DIY wall art project, you’ll want essential tools like scissors, a ruler, and adhesive. These help you cut, measure, and assemble your pieces with precision. Consider your color palettes carefully to create harmony, and explore framing options to enhance your artwork. With these tools and tips, you can easily craft personalized wall art that complements your existing decor and adds a unique touch to any space.
Conclusion
So, after all that creative effort, your walls are now uniquely yours—no gallery or store-bought piece could match your personal touch. Who knew that splattering paint, repurposing old items, or sneaking in a quote could transform your space so effortlessly? Just remember, the real masterpiece is the fun you had along the way. So, sit back, admire your handiwork, and enjoy the irony—your wall art might just be the most imperfectly perfect reflection of you.